Interior Wall Paneling is one of the easiest ways to give your home a high-end, custom look. Whether you’re going for modern, rustic, or timeless charm, adding paneling can instantly bring texture, depth, and personality to any room.
In this post, we are focusing on the Vertical Wood Wall Paneling – A trend that has skyrocketed in popularity in recent years. Vertical wood slat accent walls blends modern design with natural warmth, offering a simple yet impactful way to elevate any space. Here is why it is one of the top trending designs in 2025:
- Visual Height and Dimension
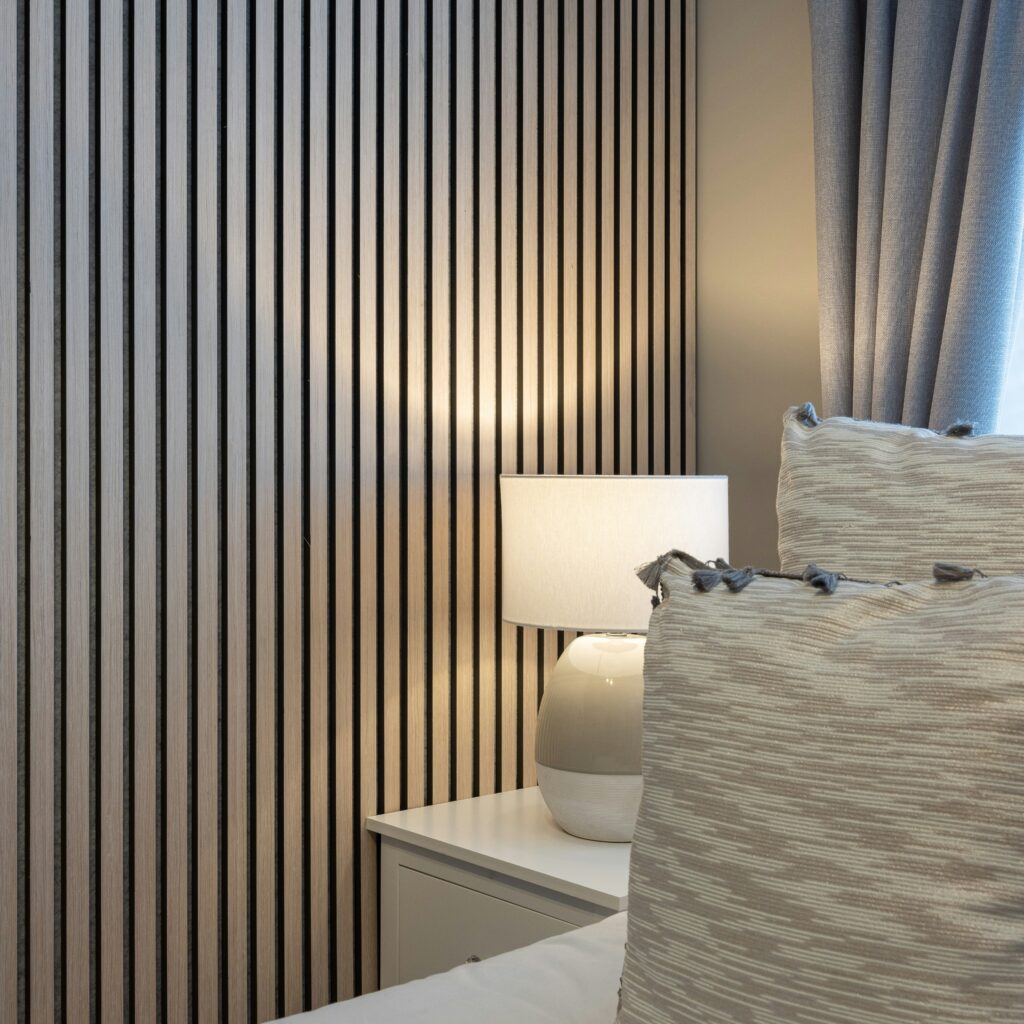
- Modern Minimalism and Warmth
- Customizable and DIY-Friendly
- Sound-Absorbing Qualities
- Flexible Across Design Styles
- Budget-Friendly Luxury
BONUS TIP: If you want to elevate the look even further, try combining your vertical slat wall with:
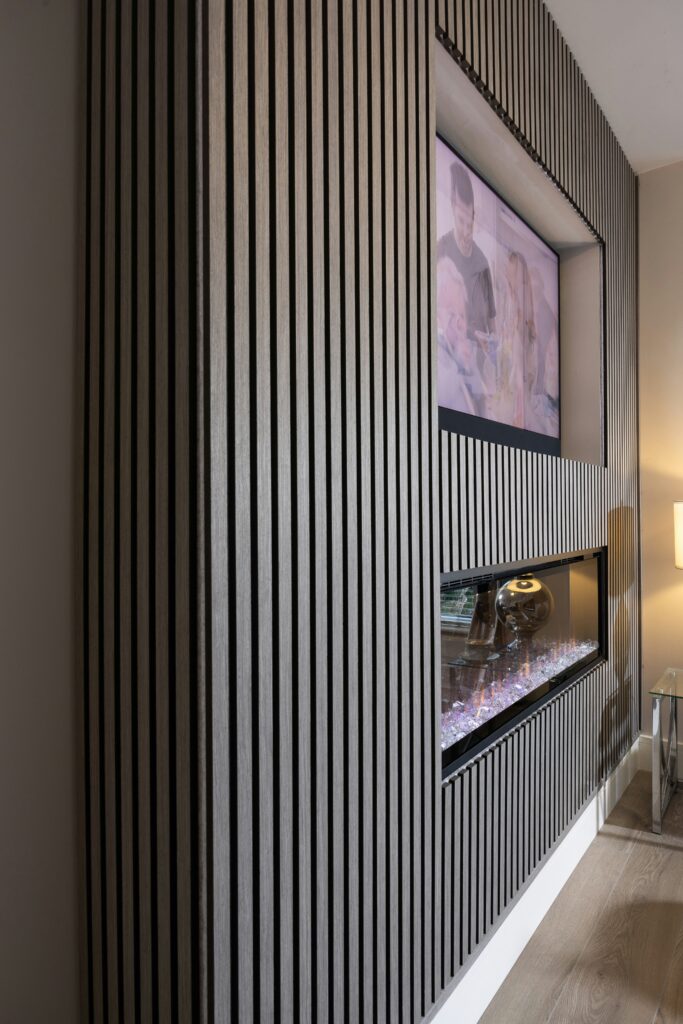
- Hidden LED Lighting
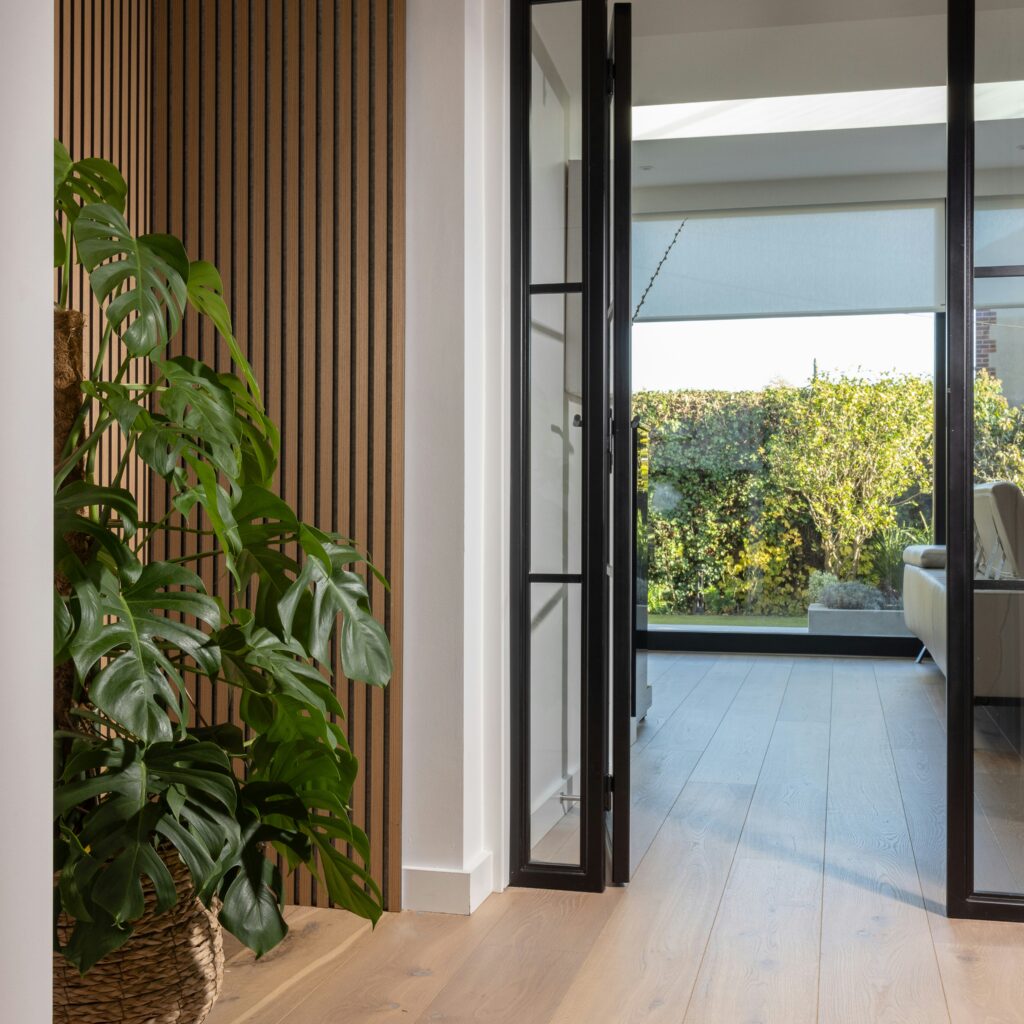
- Live greenery
- Floating shelves
DIY Vertical Wood Slat Wall Transformation
Depending on your budget and tools, here’s a basic shopping list:
- Pre-cut wood slats (pine, oak, poplar, or MDF)
- Level, measuring tape & pencil
- Nail gun or brad nails + wood glue
- Paint or stain (optional)
- Sandpaper or sanding block
- Spacer or wood shim (to maintain even gaps)

Modern Wood Slat Wall Paneling
This modern paneling design – often called slat walls or reeded paneling uses evenly spaced vertical wood strips to create a visually striking feature wall. Originally popularized in Scandinavian and Japandi interiors, wood slats have now made their way into everything from cozy bedrooms to sleek commercial spaces.
How to DIY – Vertical Wood Paneling
Build Your Own Slat Wall
Listed below are steps to recreate your new wood slat accent wall:
- Plan your layout – Measure the wall and decide how many slats you’ll need. Use a level and pencil to lightly mark guidelines.
- Pre-finish you slats – Staining or painting the slats beforehand makes installation easier and cleaner.
- Space them evenly – Use a spacer between each slat to keep consistent gaps. Common spacing: 1/2 inch or 3/4 inch.
- Attach to the wall – Use construction adhesive and/or a nail gun to secure each slat. Double-check vertical alignment as you go.
- Finish and clean – Touch up any nail holes with wood filler, lightly sand, and enjoy your masterpiece!
Style Ideas for Slat Paneling